











VDS Server Guide: KVM, Full Access and Best Practices
How Does Resource Reservation Work in KVM Virtualization?
KVM (Kernel-based Virtual Machine) partitions the physical server's processor and memory at the hardware level, assigning each VDS its own dedicated share. On Hostopya VDS plans, CPU cores and RAM are reserved to your server on the hypervisor: no matter how busy neighbouring servers get, your allocation never changes and no CPU throttling is applied.
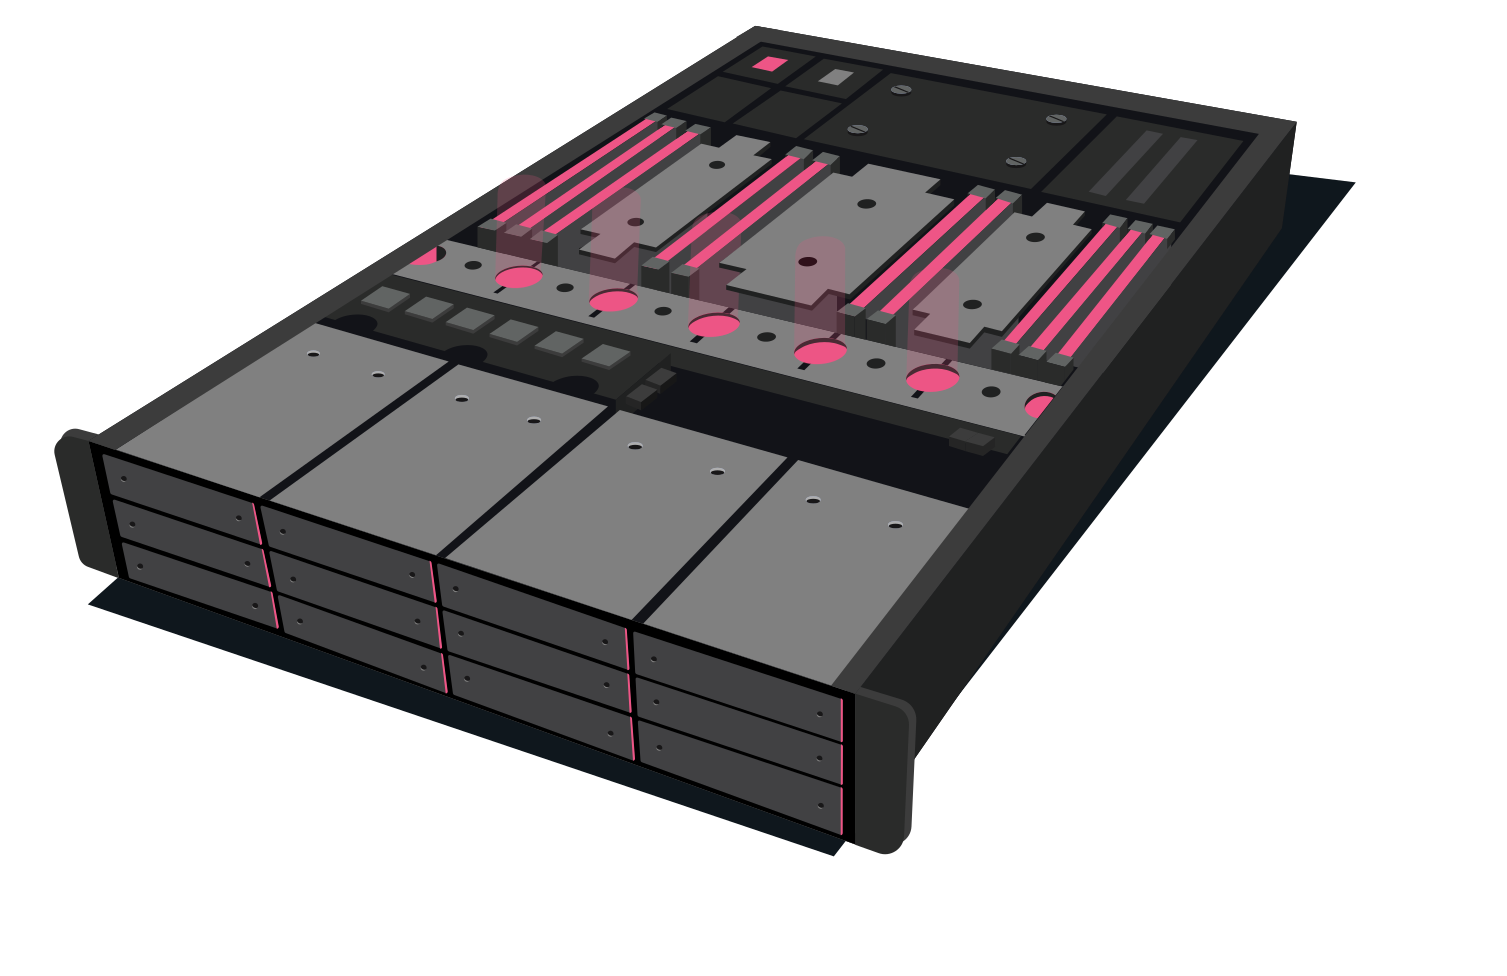
This reservation model differs from container-based shared virtualization: with KVM every VDS runs its own kernel and owns its disk partition and network stack. Combined with NVMe/SSD storage on Xeon E5-2680 v4 host machines, you get predictable response times even under heavy traffic.
What Is the Difference Between a VDS and a Dedicated Server?
With a dedicated server the entire physical machine is yours; with a VDS you use a hardware-isolated, reserved slice of a powerful physical server. Both guarantee performance — the difference is scale and cost: VDS starts at ₺129.99/month, while dedicated servers require a much larger budget.
The advantage of a VDS is flexibility: it deploys in minutes, upgrading needs no hardware swap, and reinstall/snapshot operations are one click in the panel. For sustained workloads beyond 10 CPU cores or 32 GB RAM, consider our dedicated servers or the Gold VDS line.
What Can You Do with Full Root and Administrator Access?
Full root (Linux) or Administrator (Windows) privileges are standard on Hostopya VDS. Load kernel modules, run Docker and Kubernetes, define custom firewall rules, and install any version of Node.js, PHP, Python, Java or .NET — none of the version and extension limits of shared hosting apply here.
Access methods are up to you as well: SSH on Linux, RDP on Windows, and a noVNC console that works even when the OS won't boot, included with every plan. Install commercial panels like cPanel, Plesk and DirectAdmin, or free alternatives such as CyberPanel and HestiaCP.
Windows VDS and Remote Desktop (RDP) Usage
Our VDS plans ship templates for every current release from Windows Server 2012 R2 through 2025, plus Windows 10. Setup completes from the panel in minutes; you then connect via RDP from your computer, tablet or phone to a Windows machine that stays online 24/7.
Windows VDS is the go-to choice for accounting and ERP software, always-on applications like MetaTrader, browser automation and remote-office scenarios. With unlimited 100 Mbps traffic and the Istanbul location, RDP latency from Türkiye stays below 10 ms.
How Do You Migrate a Site or Application to Your VDS?
Migration typically takes four steps: 1) install the web server and panel on your VDS, 2) take a full backup (files + database) from your current host, 3) restore and test the backup on the VDS, 4) point your domain's DNS records to the new IP. Lowering the TTL before the switch cuts downtime to minutes.
For cPanel/Plesk-to-same-panel moves, the panels' own transfer tools automate the process. Our 24/7 technical support team assists via ticket at any point, and for database-heavy projects we recommend scheduling the cut-over during low-traffic hours.
Security Settings to Apply Right After Setup
When your new VDS is delivered, we recommend five essential steps: change the root/Administrator password, switch SSH to key-based login and move it off port 22, complete OS updates, keep only the ports you use open in the firewall, and set up your automatic backup/snapshot plan.
At the network layer, XDP + Mikrotik + StormWall DDoS protection is included with every plan; inside the server, fail2ban (Linux) or account lockout policies (Windows) stop brute-force attempts. The snapshot feature in our panel creates a one-click restore point before any major change.